Making a Super 8 Music Video on the Cheap
| September 10th, 2015I recently made a Super 8 video with my friends in the band Sheer Agony and I thought I’d share some info on what it’s like working with small format film on the lowest possible budget. I directed it (with Caitlin’s help) but the band contributed many of the ideas. It’s about a crooked police officer (singer/guitarist Jackson MacIntosh). During his collection rounds he stumbles upon a loft show where he suddenly, unexpectedly, must confront his deeply-repressed dream. It’s all pretty lite fare but we did spend a bit of time researching police message boards to try to get inside the law enforcement mind.
Here’s the video:
The album it’s taken from, Masterpiece, is superb. It’ll be out on October 30th. Read about it here.
Some earlier Super 8 videos that Caitlin and I made for our own band are viewable here. I made many, many (sometimes expensive) mistakes in the course of making these that hopefully you won’t need to repeat.
Can you even get film?
First off, yes, Super 8 film is still available new. Kodak sells four different stocks as I write this. Adox also makes a b&w reversal (projectable) stock. Another b&w stock is available from the Czech company Foma. Wittner Cinetek sells a number of (expensive) specialty stocks. Ferrania in Italy is close to releasing a new colour reversal super 8 film.
And yes, you can still get the film developed and scanned quite easily. We use Niagara Custom Lab and Frame Discreet in Toronto.
Used cameras are abundant and there’s even a new Super 8 camera currently in production: The highly advanced (and $$$) Logmar. Using a garbage camera (like this Bentley piece of crap) is a false economy. I’ve mostly used Canon and Nizo cameras but other good names include Beaulieu (they have a dual rep: excellent optics but extreme fragility); Elmo (they also make the best projectors); Nikon (especially the R10); Eumig, and Leicina. Soviet-made Zenit Quarz cameras like model 1x8S-2 have a pretty good rep too.
Film and processing are pricier than in the past (you could once buy and develop carts at your local drug store) but I’d still say it’s the best time ever for making a music video (as opposed to a home movie) on Super 8. High quality Super 8 scans are fairly recent development; film, even 8mm, holds a lot of information. Older telecines looked very flat and blotchy (unless you did a 16mm blow-up) and didn’t come close to capturing the quality detail that was evident when projecting reversal 8mm film.
A few considerations
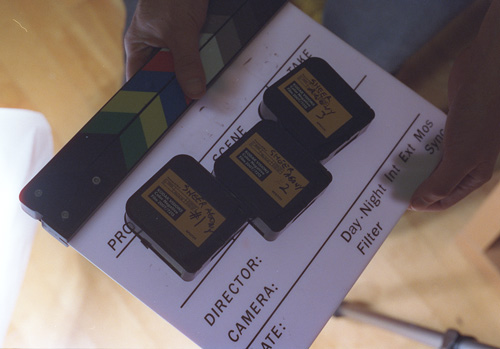
Shooting Ratio (the ratio of footage shot to footage used): for this Sheer Agony video we only had three 50′ cartridges of film. This gave us a little under 10 minutes of footage (including the titles, which were filmed). The video’s runtime was 2 minutes and 16 seconds. I’ve read that a 10:1 is considered pretty normal for film productions and 6:1 is considered economical. Ours was closer to 4:1 which definitely left very little to chance (a higher ratio would’ve let us do alternative takes with riskier-but-cooler lighting). But if you’re really determined to do things on the cheap, a 1:1 ratio ‘1-take super 8’ is do-able. Keep in mind that dumb technical mistakes happen (see image below) and people laugh (plan on tripling your required shooting ratio if you work with giddy people).
There’s seldom enough light: when working outdoors be mindful of the fact your lighting conditions are constantly changing. This is doubly true as it approaches dusk. If you need to shoot at dusk, be prepared to hustle before you run out of light. The fastest (most light sensitive) Super 8 film is Vision 3 500T (rated at ISO 500 in tungsten light; ISO 320 in daylight with an 85 filter*); Generally speaking, the higher the ISO, the grainier the film. If you’re certain you’ll be working under very bright sunlight (or if you’ll have extremely bright movie lights) Vision 3 50D is so fine-grained it can almost look like 16mm.
Shutter Angle: Super 8 cameras with an “XL” usually have a larger shutter angle (maybe 220º or so) vs the traditional angle of around 150º. The larger shutter angle will allow filming in lower light. On the other hand, a smaller angle will produce a somewhat sharper image and less motion blur at a given frame rate. Some high-end cameras allow you to switch the shutter angle.
*Every Super 8 camera has a built-in 85 filter designed to colour correct tungsten film used in daylight (otherwise the footage will have a blueish tinge). Usually a sun symbol indicates the filter is switched on and a lightbulb means ‘off’. Some recommend using a screw-on 85 lens filter since the built-in one may be a bit dusty or faded but I’ve personally never had a shot ruined with the internal filter of any of my cameras. If you get your Camera serviced, ask the tech to check the status of your filter.
Depth of field (DOF): A Super 8 camera’s viewfinder does not simulate the actual depth of field (ie the range from near to far where objects appear reasonably sharp). The subject distance, lens focal length, f-stop, and film format all affect DOF. In the worst case, like if you’re zoomed in and the light is low, it’s quite possible to have a DOF of only a few centimetres. That means almost an entire scene could be out-of-focus even if it looked perfectly fine through the lens. Understanding depth of field helps you know how much light you need (probably more than you think) and helps you accurately frame your shots in three dimensions. If you have an iPhone or Android, Kodak’s free Cinema Tools app has a nice Depth of Field calculator.
Focussing: it’s very easy to ruin all your footage if a camera’s diopter is set incorrectly. The diopter adjustment sets the camera’s optics to match your own eyesight. The typical technique is to focus the camera on a bright distant object with the lens set to infinity (∞). Alternatively, you can double-check your focussing by comparing to the meter/feet marking on the lens and then measuring from the film plane mark (Φ) to the object in focus. If two people with differing eyesight are going to be shooting it’s best to get a second camera (the cameras are cheap, film isn’t).
Know your camera’s equivalent shutter speed: this figure varies from camera to camera and based on the filming speed (18 frames per second and 24fps are the most common). For example, my Nizo has the equivalent shutter speed of 1/43 sec @ 18fps (1/40 would be close enough for rock & roll) and 1/57 sec @ 24fps. You need this info if you want to use an external light meter.
Consider using a tripod: Super 8 is inherently a bit jittery (because there’s no pressure plate over the film gate–the new Logmar camera is the exception) so even with a fairly steady hand, the cumulative shake can be be quite high. Also, cameras are more sensitive to motion blur at the telephoto end of the lens; wide angle is a bit more forgiving if you need to do hand-held shots.
Lipsync: very few Super 8 cameras have crystal sync motors so the speed is going to drift a little bit. This usually isn’t noticeable but it can make it difficult to get lipsync to line up. If you have enough time, it’s a good idea to break your sync’d bits up into smaller chunks.
Bring a toothbrush: it’s a really good idea to clean the film gate every time you change cartridges. Accumulated dirt in the film gate scratch the film or create large blotches in the picture.
Student and Co-op discounts: You can get sizeable discounts on film stock, developing and scanning if you’re either a student or a member of a film co-op.
Equipment Used for the Video
Cameras: For this video we used a Canon AutoZoom 814 (Japan 1967) and Nizo S80 (West Germany 1969). The former was a hand-me-down and the latter a cheap garage sale find. Both camera required servicing to both their lenses and electronics to function correctly. Jean-Louis Séguin, a recently retired Concordia University Communication tech did the work. He’s amazing.
Lighting: We only had a pair of Arri 600w tungsten open face lights with stands, various gels and soft boxes. We rented them from Main Film. We didn’t have dimmers (they would have been really handy). If you really wanted to cheap out, these 450w equivalent CFL bulbs put out a decent amount of light (we’ve used them in the past).
Light metering: A Sekonic L-398 (this is a really basic meter that doesn’t require batteries and is pretty easy to find used). Even though both cameras have internal light meters and can read the notches for Vision 3 200T (most super 8 cameras’ internal meters will only read 25/40 and 100/160 ASA* [daylight/tungsten]) I prefer to use an external meter. I’ll often want an off-centre spot to be the lighting reference and in cases where the lighting changes in a shot (eg a pan) you won’t get an annoying glitches from the camera’s iris adjusting. Also, many cameras require very expensive substitutes (like the $$$-but-quick-draining WeinCell) for the now-banned PX625 mercury cell for their internal light meter. Negative film (like the colour Vision 3 series) has much more exposure latitude (ie it’s more forgiving if you screw up) than reversal (projectable) film like Tri-X.
*ASA and ISO are identical units for film speed.
Film: We were limited to three carts of Kodak Vision 3 200T (tungsten balanced) colour negative film. We shot at 18fps. 24fps offers smoother motion but requires more light and is less economical (natch). And as mentioned, the film was developed at Niagara Custom Lab and scanned to HD video at Frame Discreet (who also did basic colour grading).
Special effects: The only effect we used was a Cokin ‘star’ lens filter. These are inexpensive.
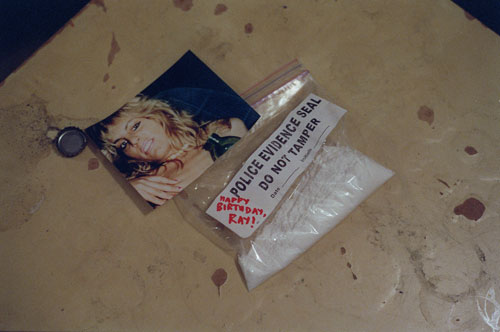
Props: We rented the cop uniform at a nearby shop called Malabar. Most of the other stuff was scrounged up by the band members and me. The unusual photo was found inside a used reel of analog tape.
Editing: We used Adobe Premiere CS5. We mostly did straight cuts so any non-linear editor would’ve worked fine.
Grain reduction: I think Super 8 film grain looks great. Unfortunately, neither YouTube nor Vimeo can handle much film grain. The inherent randomness of grain confuses the compression schemes leading to blotchy digital glitch artefacts. That is why I feel that using the noise reduction plugin Neat Video is a necessary evil. The trick is using the only the tiniest amount of reduction. José Luis Villar’s advice here is excellent.
If you don’t need to upload the video to the internet, (like for a private showing) you probably don’t need to use grain reduction.
Resources
There are two relatively active Super 8 message boards: The Filmshooting.com Forum and Cinematography.com’s Super 8 Forum both have knowledgeable regulars.
Spanish fashion photographer José Luis Villar makes the most technically adept Super 8 clips I’ve seen. He’s also been extremely generous to us about sharing his knowledge. Here’s his site.
Super8data and Super8wiki both have exhaustive collections of photos, specifications and manuals for cameras and other gear.
Niagara Custom Lab does film developing and also sells film stock. They’re located in Toronto.
Frame Discreet does very high-quality film scanning and colour grading. They’re also in Toronto. Since we’ve done this video, they’ve upgraded their rig to a 5k Lasergraphics ScanStation.
Main Film is our local film co-op. We get a discount on film stock and development as members. They have a nice collection of equipment for rent too.
Vision Globale/Mels is the Montreal distributor for Kodak cinema film. Alban Berg was film person last time I was there (totally nice, helpful guy).
Logmar of Denmark make the world’s most advanced Super 8 camera. It’s pricy but its footage approaches 70s 16mm film in quality.
Jean-Louis Séguin is an excellent (and affordable) Montreal-based cinema camera tech. Contact us if you need his email (no flakes plz).
35mm set photos
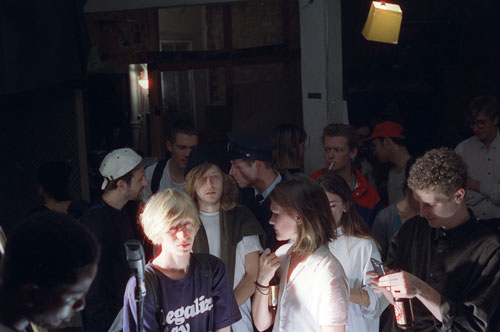
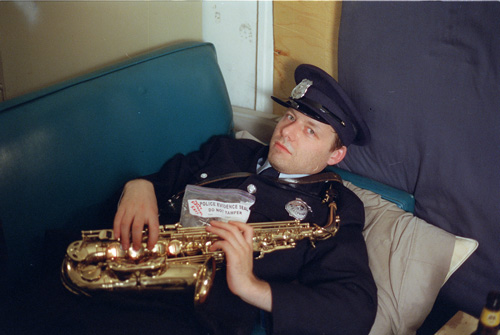
We had a still camera floating around loaded with Cinestill film (which is repackaged Kodak cinema film) pictures were taken by the band, Caitlin, and me. Kinda (but not really) gives the idea of what it might have looked like shot on 35mm.

The band’s rhythm section, Markus and Greg
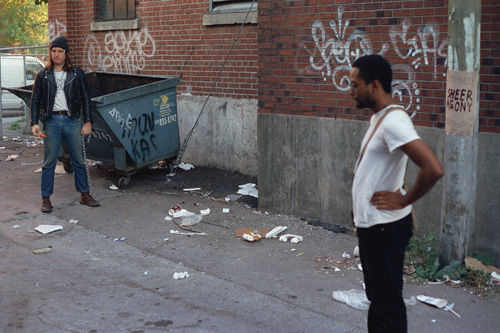
Greg as the goon
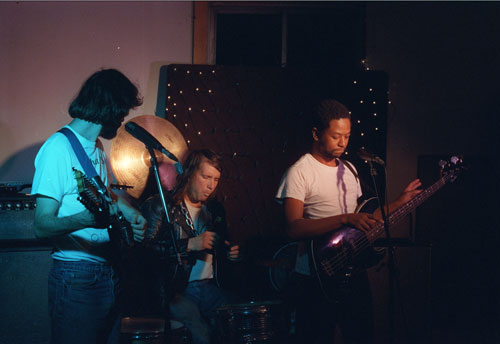
Lipsync with Christian, Greg, and Markus
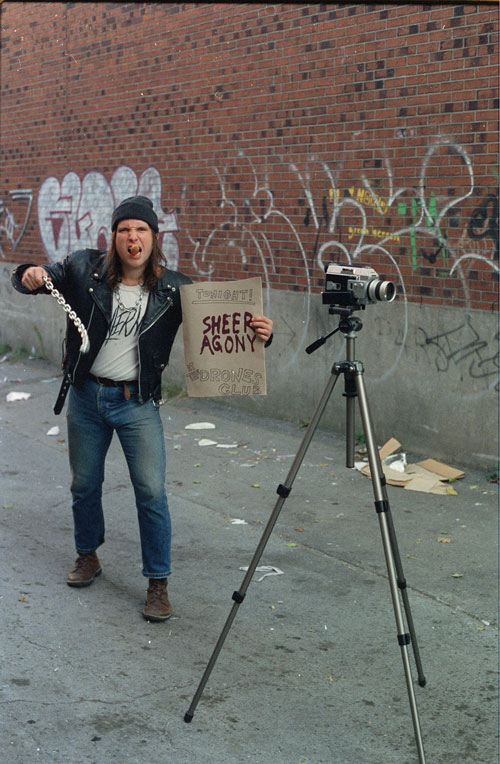
Greg flogging the show
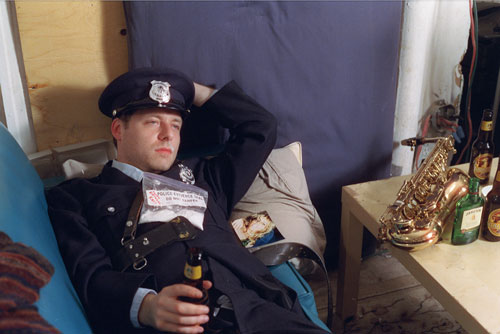
Jackson as the worse-for-wear crooked cop



 |
|